
- Headings
- Images
- YouTube Videos
Heading 1
Heading 1 will be the same size as the blog title. Use it wisely and sparsely.
Heading 2
Heading 2 will be slightly smaller than Heading 1. This can be a good option for section headings in your blog. Feel free to use it as many times as you want.
Heading 3
Heading 3 can be used for subsections. Before we move furthur, let's demonstrate addition of images to the blog.
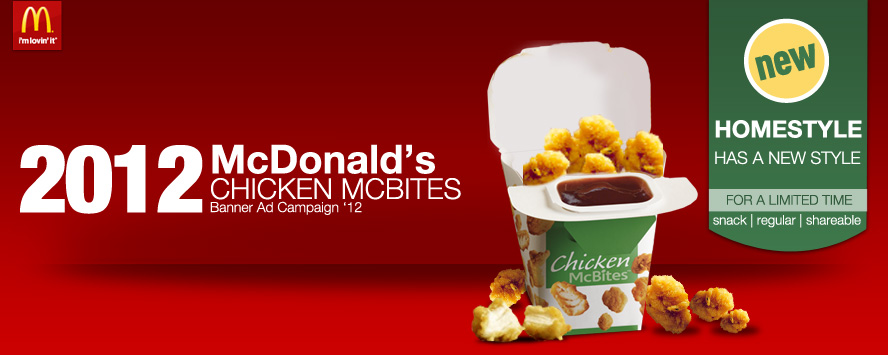
By default, images are sized to fill the width of the content. The height is calculated automatically to ensure that the aspect ratio remains 1. This means that if you have a bigger image- it will have larger height. For example:
Heading 4
Now let's move to videos. You can add YouTube video links that will be added to the page to display the video. For example: Here is a video for you
Heading 5
Headings 5 and 6 are generally small. Both of these are actually even smaller than the text itself. We're not exactly sure where you can use them but go crazy!
Let's quickly go over links now: Here a link to Google
Heading 6
This is too small for anything good to be honest haha. But let's take this opportunity to show that you can also add beautiful math to your blog easily. It can be inline math like Einstein's famous $E=mc^2$ or it can be a latext text in display mode which uses the full line width like so
$$ E = mc^2 $$
Let's demonstrate code blocks to your blocks. You can add code blocks using the code option in editor and they will be automatically highlighted by the blog page. For example
import { Component } from '@angular/core';
import { HighlightJsDirective } from 'ngx-highlight-js';

@Component({
  selector: 'test',
  template: `<textarea highlight-js [lang]="'bash'">npm install --save ngx-highlight-js</textarea>`,
  imports: [HighlightJsDirective]
})
export class SimpleComponent {}# dummy_hello.py
def greet(name="World"):
"""Prints a greeting message."""
print(f"Hello, {name}!")
if __name__ == "__main__":
greet()
greet("Python User")